

How Do I Change The Width Of A Column In Excel
Lesson 3: Modifying Columns, Rows, and Cells
/en/excel2010/cell-basics/content/
Introduction
When yous open up a new blank workbook, the cells are set to a default size. You lot have the ability to modify cells, as well every bit to insert and delete columns, rows, and cells as needed. In this lesson, y'all volition learn how to change row height and cavalcade width, insert and delete rows and columns, wrap text in a prison cell, and merge cells.
Working with columns, rows, and cells
By default, every row and column of a new workbook is gear up to the same superlative and width. Excel allows you to modify cavalcade width and row superlative in different means.
Optional: You tin can download this case for extra practice.
To modify cavalcade width:
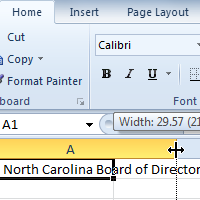
- Position your mouse over the column line in the column heading and so the white cross
 becomes a double arrow
  .
. Positioning mouse over the column line
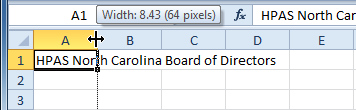
 - Click and drag the cavalcade to the correct to increase column width or to the left to decrease cavalcade width.
 Increasing the column width
 - Release the mouse. The column width volition be changed in your spreadsheet.
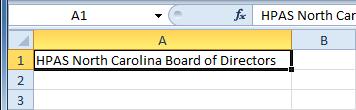 Increased column width
If you come across pound signs (#######) in a cell, it means the column is not wide enough to display the cell content. Merely increase the column width to testify the cell content.
To set column width with a specific measurement:
- Select the columns you want to modify.
- Click the Format command on the Habitation tab. The format drop-down menu appears.
- Select Cavalcade Width.
 Increasing the column width
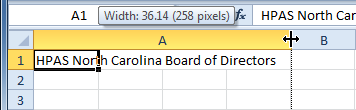
 - The Column Width dialog box appears. Enter a specific measurement.
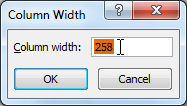 Increasing cavalcade width to 258 pixels
 - Click OK. The width of each selected cavalcade will exist inverse in your worksheet.
Select AutoFit Cavalcade Width from the format drop-down menu, and Excel will automatically adjust each selected cavalcade so all of the text will fit.
To modify row meridian:
- Position the cursor over the row line then the white cantankerous becomes a double arrow
 .
.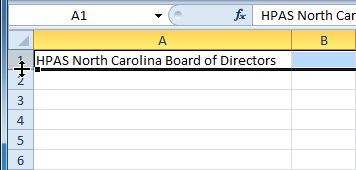 Positioning the mouse over the row line
 - Click and elevate the row down to increment row height or upward to subtract height.
 Increasing the row height
 - Release the mouse. The height of each selected row volition be changed in your worksheet.
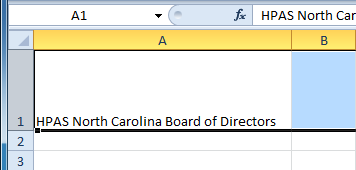 Increased row tiptop
To set row peak with a specific measurement:
- Select the rows yous want to modify.
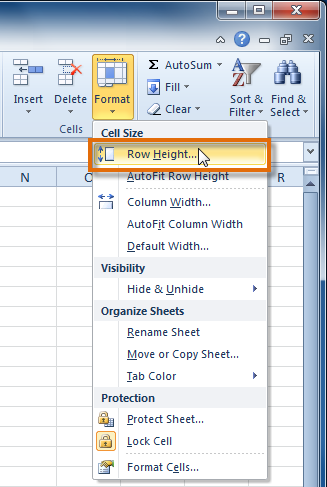
- Click the Format command on the Home tab. The format drop-downwards menu appears.
- Select Row Superlative.
 Increasing the column width
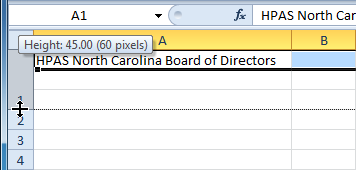
 - The Row Meridian dialog box appears. Enter a specific measurement.
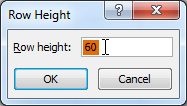 Increasing row height to 60 pixels
 - Click OK. The selected rows heights will be changed in your spreadsheet.
Select AutoFit Row Height from the format drop-down menu, and Excel will automatically conform each selected row so all of the text will fit.
To insert rows:
- Select the row below where you want the new row to announced.
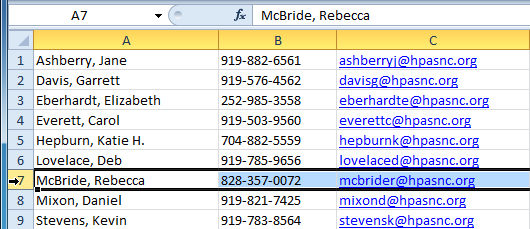 Selecting the row
 - Click the Insert command on the Home tab.
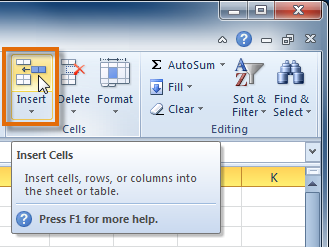 Selecting the Insert Cells command
 - The new row appears in your worksheet.
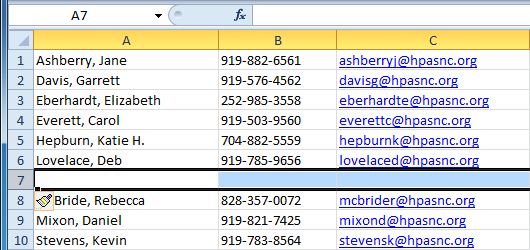 The inserted row
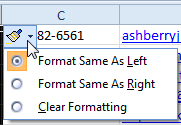
When inserting new rows, columns, or cells, you volition meet the Insert Options button  by the inserted cells. This button allows you to choose how Excel formats them. By default, Excel formats inserted rows with the same formatting as the cells in the row above them. To admission more options, hover your mouse over the Insert Options push button and click the drop-downward arrow that appears.
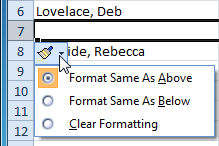 Accessing Insert Options
To insert columns:
- Select the column to the right of where you desire the new column to appear. For example, if y'all want to insert a cavalcade between A and B, select column B.
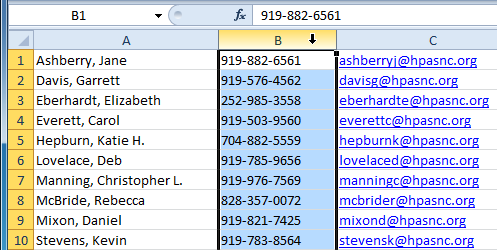 Selecting the column
 - Click the Insert control on the Home tab. Selecting the Insert Cells control
- The new column appears in your worksheet.
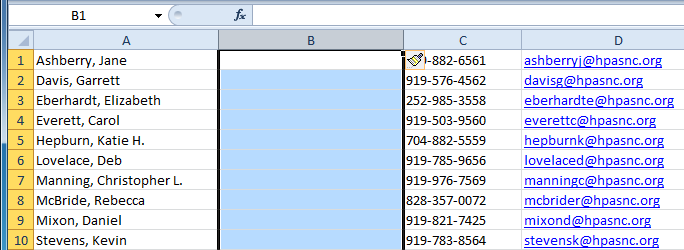 The inserted column
By default, Excel formats inserted columns with the aforementioned formatting as the cavalcade to the left of them. To access more options, hover your mouse over the Insert Options push and click the drib-down arrow that appears.
 Accessing Insert Options
When inserting rows and columns, brand sure to select the row or cavalcade past clicking its heading and so all of the cells in that row or column are selected. If you select simply a jail cell in the row or column, simply a new cell will be inserted.
To delete rows:
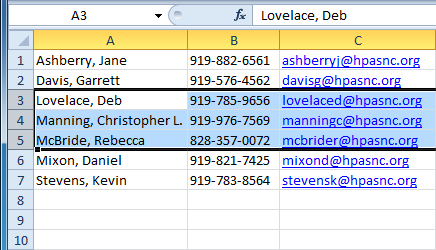
- Select the rows you lot want to delete.
 Selecting the rows
 - Click the Delete control on the Domicile tab.
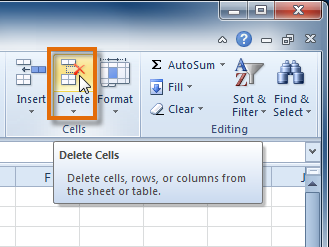 Selecting the Delete command
 - The rows are deleted from your worksheet.
 The rows are deleted
To delete columns:
- Select the columns y'all want to delete.
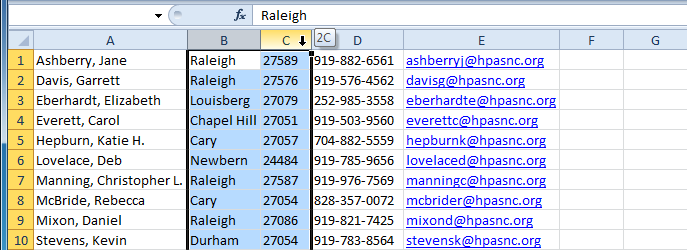 Selecting the columns
 - Click the Delete command on the Domicile tab. Selecting the Delete control
- The columns are deleted from your worksheet.
 The columns are deleted
Wrapping text and merging cells
If a cell contains more text than tin be displayed, yous tin can choose to wrap the text inside the cell or merge the prison cell with empty adjoining cells. Wrap text to make information technology display on multiple lines of the jail cell. Merge cells to combine adjoining cells into 1 larger cell.
To wrap text:
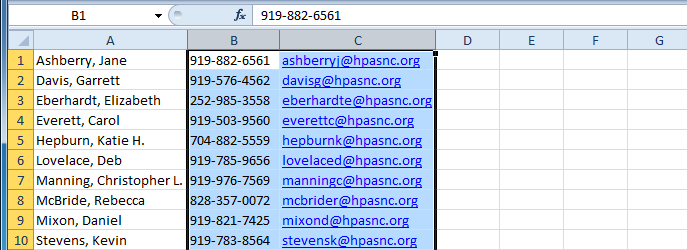
- Select the cells with text that you want to wrap.
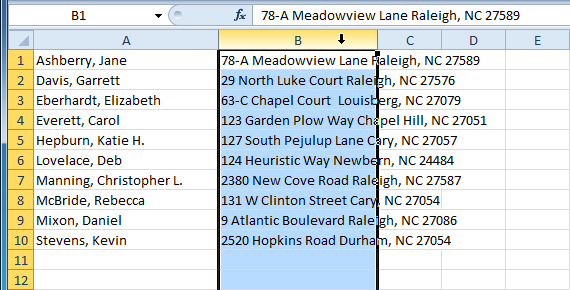 Selecting cells
 - Select the Wrap Text command on the Domicile tab.
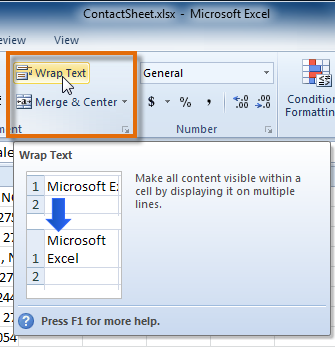 Selecting the Wrap Text command
 - The text in the selected cells will be wrapped in your worksheet.
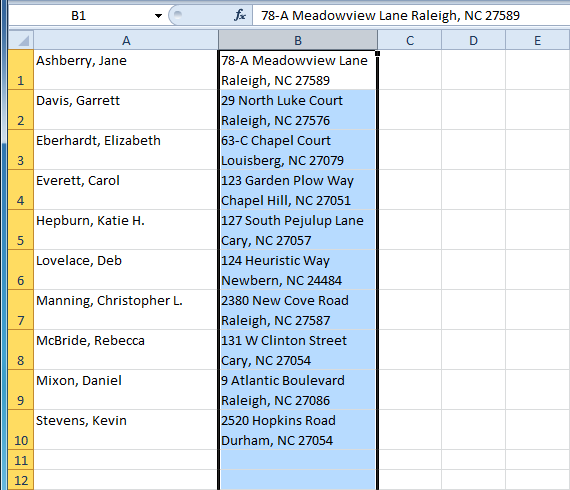 Cells with wrapped text
If you modify your mind, reclick the Wrap Text control to unwrap the text.
To merge cells using the Merge & Eye command:
- Select the cells you desire to merge.
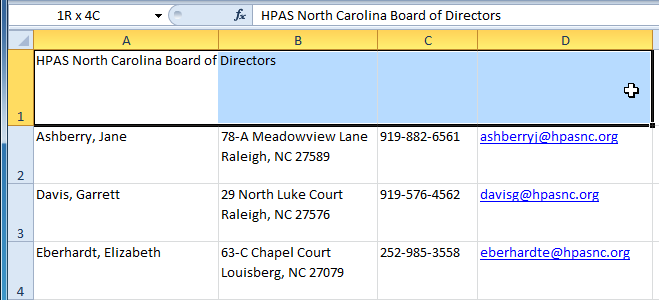 Selecting A1:D1 (A1, B1, C1, D1)
 - Select the Merge & Center command on the Home tab.
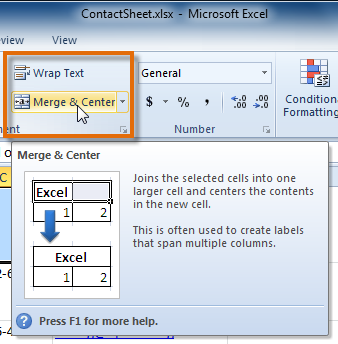 Selecting the Merge & Center command
 - The selected cells will be merged, and the text will be centered.
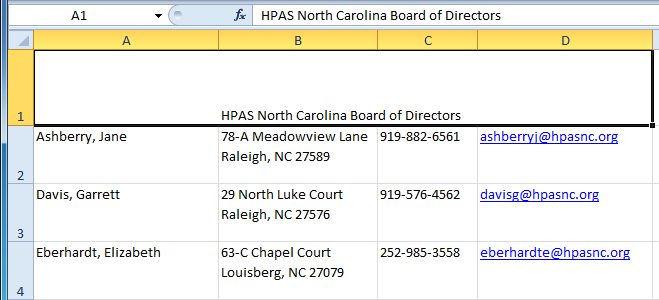 A1 after merging with B1:D1
If you modify your heed, reclick the Merge & Center command to unmerge the cells.
To admission more merge options:
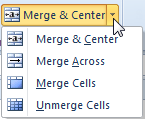
Click the drop-downwardly arrow next to the Merge & Center command on the Domicile tab. The merge drop-downwardly menu appears.
- Merge & Center: Merges selected cells into 1 cell and centers the text
- Merge Beyond: Merges each row of selected cells into larger cells; useful when merging content across multiple rows of cells rather than creating i big prison cell
- Merge Cells: Merges selected cells into one cell
- Unmerge Cells: Unmerges selected cells
 Accessing more Merge options
Although merging cells tin exist useful, it tin can also crusade issues with some spreadsheets. Picket the video below to larn almost some of the bug with merging cells.
Challenge!
- Open an existing Excel 2010 workbook. If you lot want, you can use this example.
- Modify the size of a column. If you are using the case, make the column that contains lath members' names larger.
- Modify the size of a row to be 46 pixels. If you are using the example, modify all the rows that contain text (rows one-11).
- Insert a column between columns A and B.
- Insert a row between rows three and iv.
- Delete a cavalcade or row.
- Try merging some cells. If you are using the example, merge the cells in the tiptop or championship row (row 1).
- Try using the Text Wrap command on some cells. If y'all are using the example, wrap the text in the column that contains addresses.
/en/excel2010/formatting-cells/content/

How Do I Change The Width Of A Column In Excel,
Source: https://edu.gcfglobal.org/en/excel2010/modifying-columns-rows-and-cells/1/
Posted by: ballardloffinds.blogspot.com
0 Response to "How Do I Change The Width Of A Column In Excel"
Post a Comment